AWS Cloud9 is a powerful IDE you can use to develop code within your browser. It integrates with other AWS services like Lambda so you can easily download, modify and re-upload new versions of your Lambda function code. Cloud9 also comes with a managed EC2 instance with terminal access so you have full control of your development environment. In this blog post, I will run through an example of using Cloud9 to develop a Lambda function, including steps on adding a Python external package.
Creating a Lambda
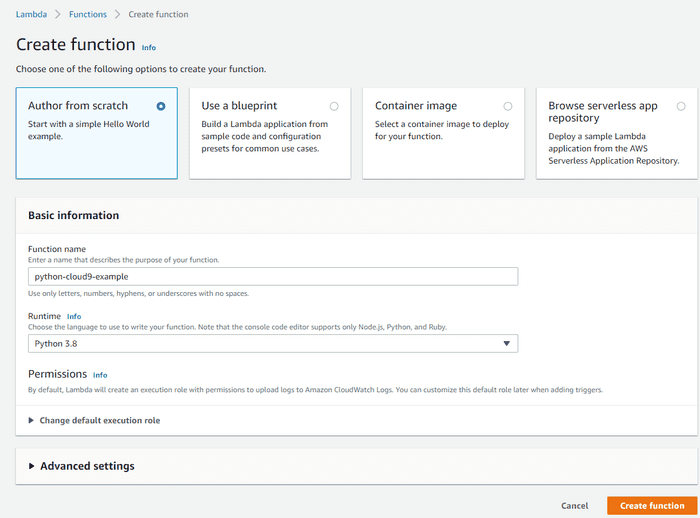
If you don’t already have a Lambda you would like to use with Cloud9, you can easily create a new one from the AWS console. For this example, we will be using Python as the runtime.
Creating a Cloud9 environment
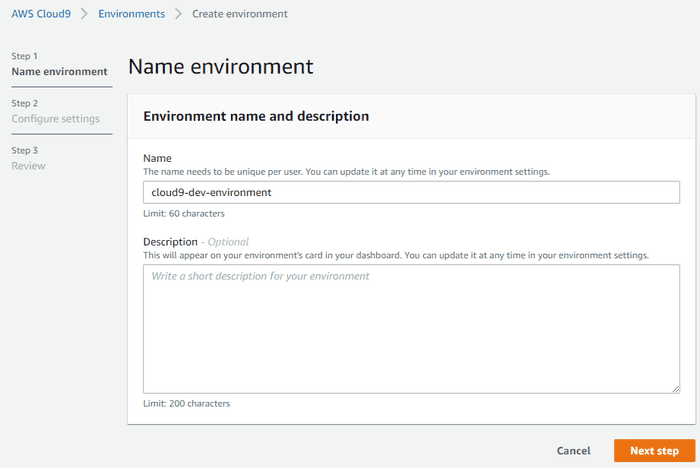
Navigate to AWS Cloud9 in your AWS console and click “Create environment”. Provide a name for your environment.
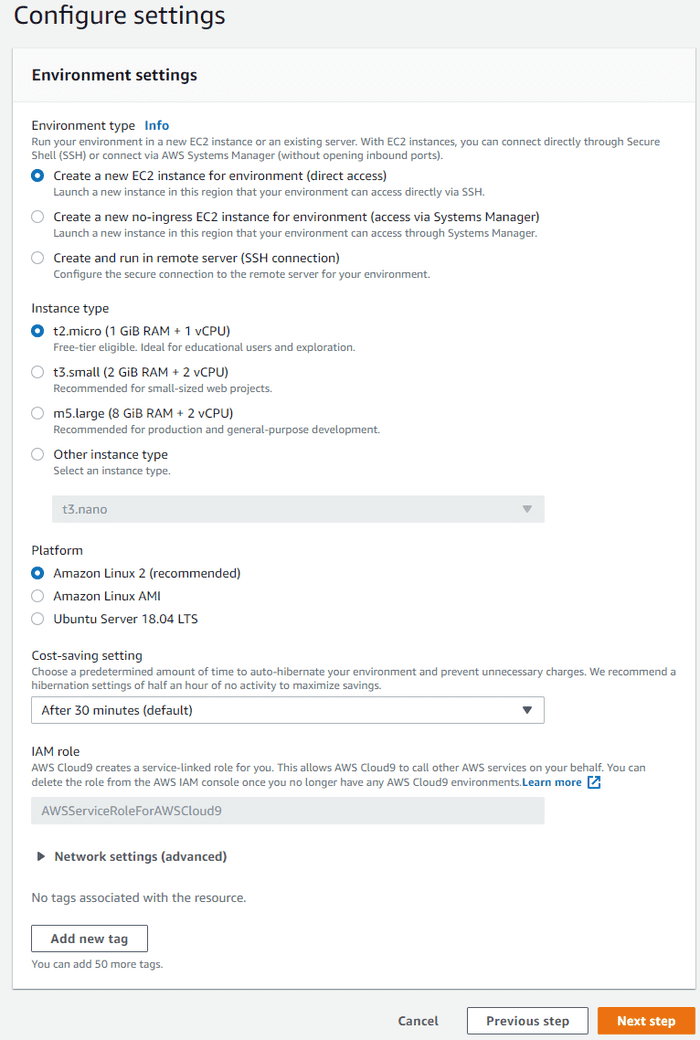
On the next step, there are some settings you can configure regarding Environment type, Instance type and Platform. For the purposes of this example, we can use the default settings.
Continue with the final step and create the environment.
Developing with Cloud9
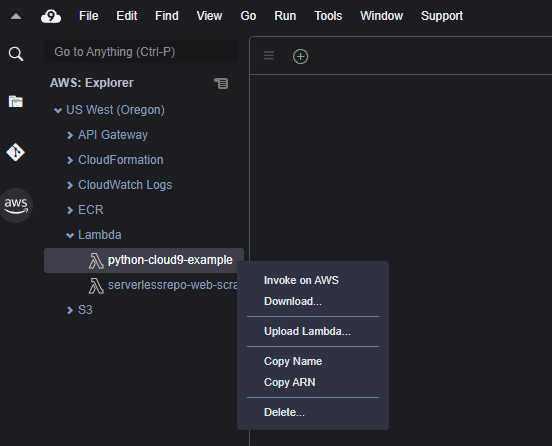
Now that you’ve created your Cloud9 environment, go ahead and launch it for the first time, this may take a couple minutes. In your Cloud9 environment, on the left side, click the AWS logo. In the AWS Explorer, you can find your Lambda function, right click it and Download the code to your Cloud9 workspace.
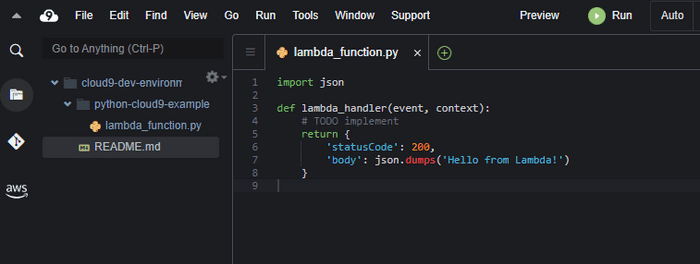
After downloading the Lambda, go to your workspace by clicking the folder icon. You should now see the code and files associated with your Lambda.
Adding a new Python package
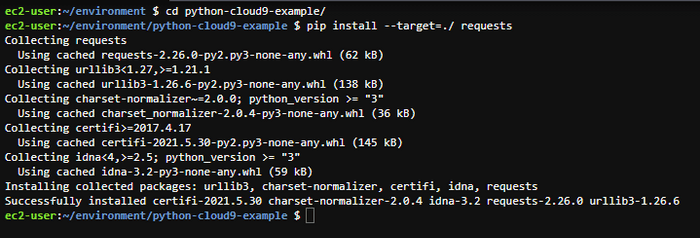
Let’s now add a python package to our Lambda. For this example we will add the requests package. In the Cloud9 terminal at the bottom of the page, cd to the folder containing your Lambda code and run the command pip install --target=./ requests
Now we can update the Lambda code to utilize the requests package. As a simple example, update the Lambda code to the following:
import requests

def lambda_handler(event, context):
    response = requests.get("https://www.google.com")
    return response.status_code
Updating the Lambda
Now that we’ve made changes to our Lambda function code, we can deploy a new version of the Lambda by zipping up our workspace and uploading it to Lambda.
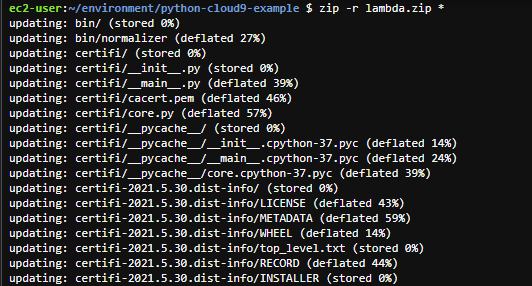
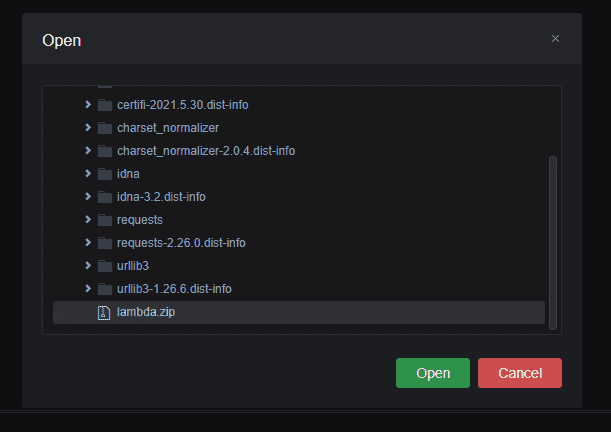
In the Cloud9 terminal, zip up the workspace with the following command: zip -r lambda.zip *. This will create a new lambda.zip file which we will upload to Lambda.
Open the AWS Explorer from the left sidebar, find your Lambda function again and right click. This time, we will select the “Upload Lambda…” option. Select “ZIP Archive” and upload the lambda.zip we just created.
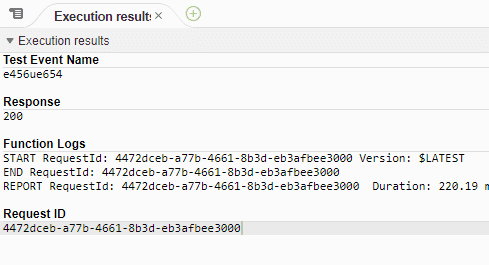
Testing the Lambda
Now that the Lambda has been updated, return to the Lambda in AWS console and test it. The simple Lambda we’ve created should be making a request and returning 200 status code.